

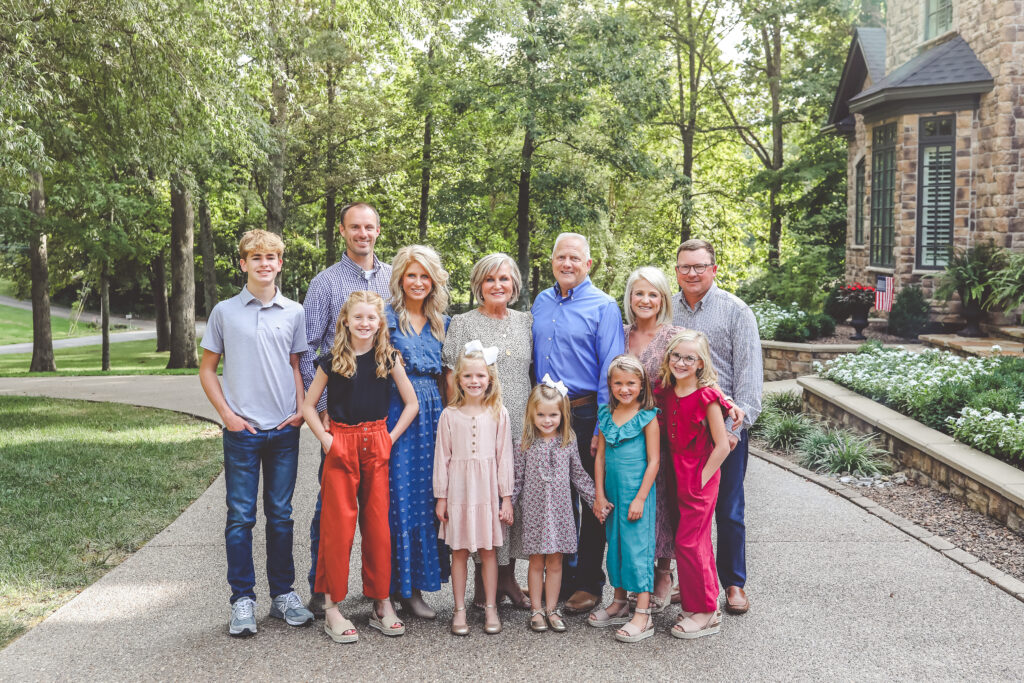
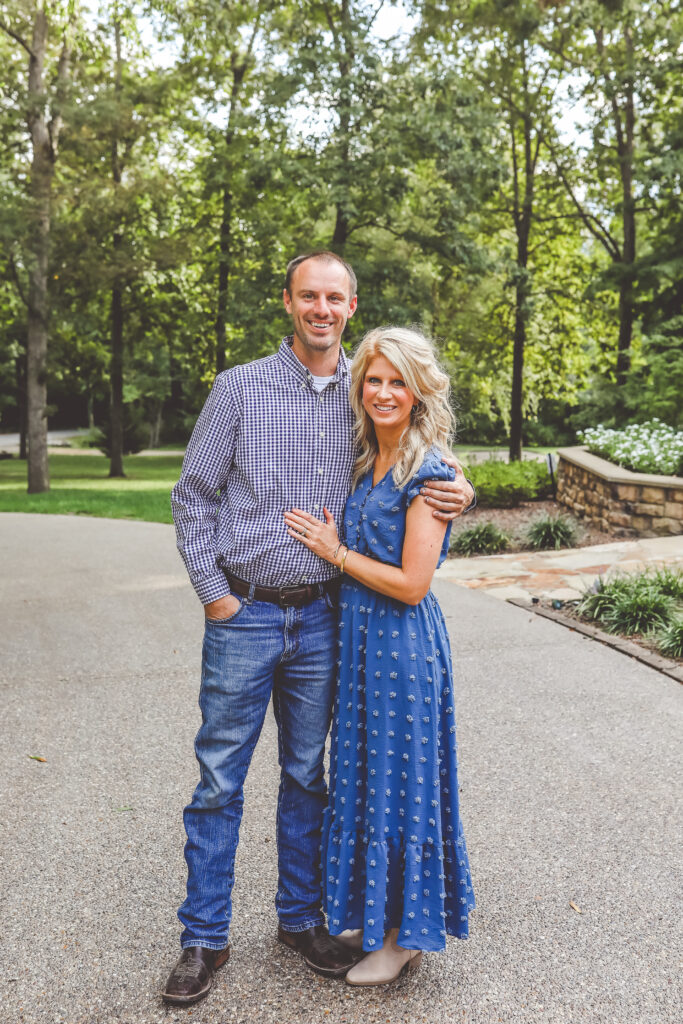
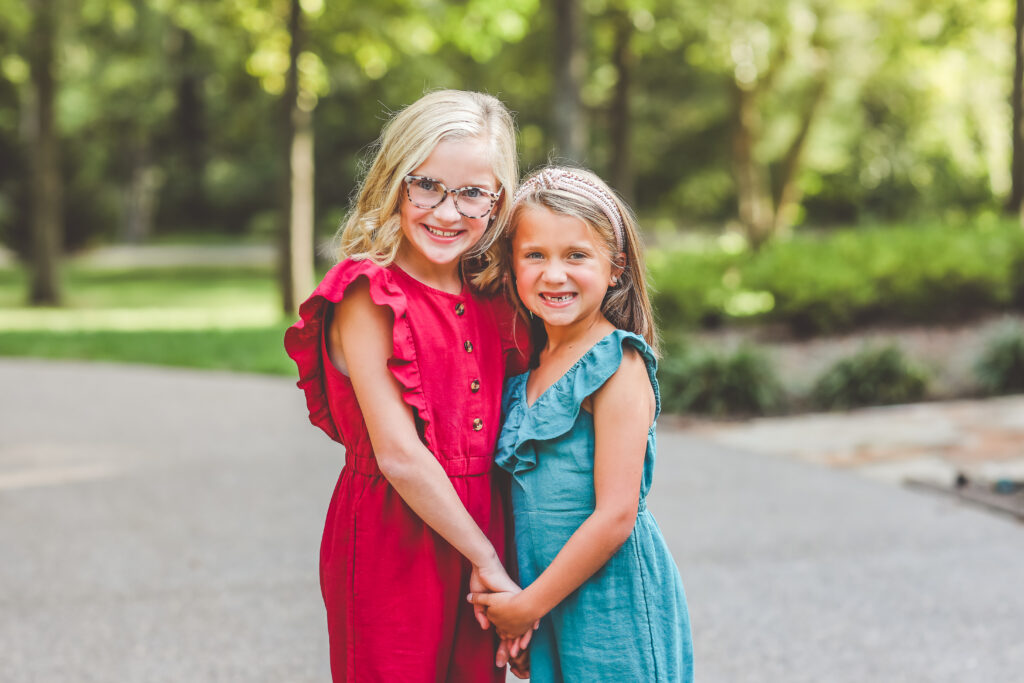
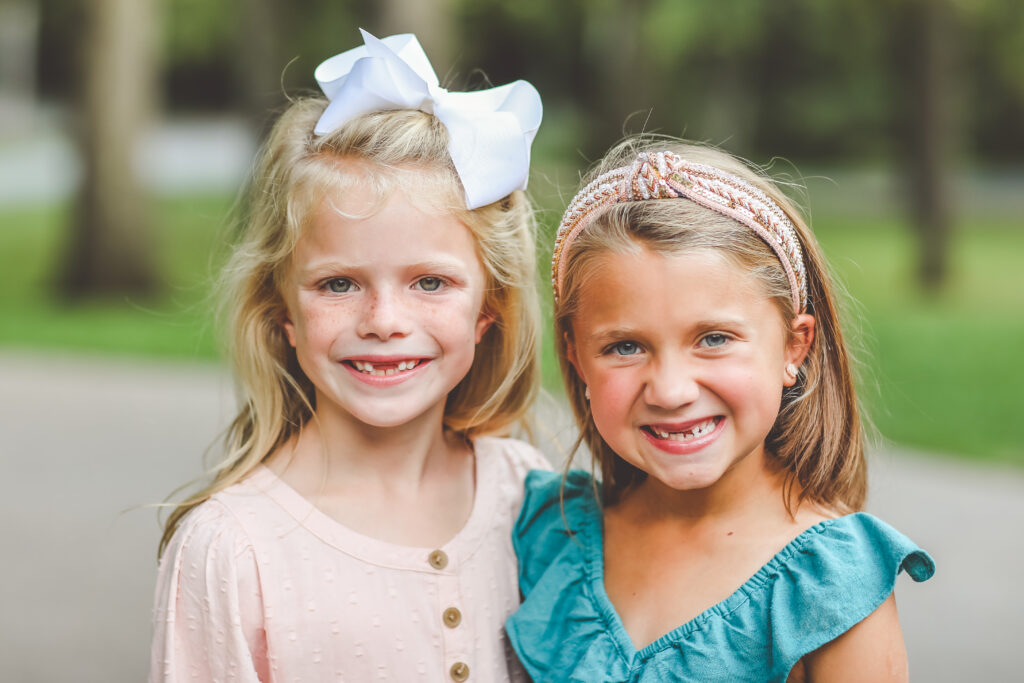
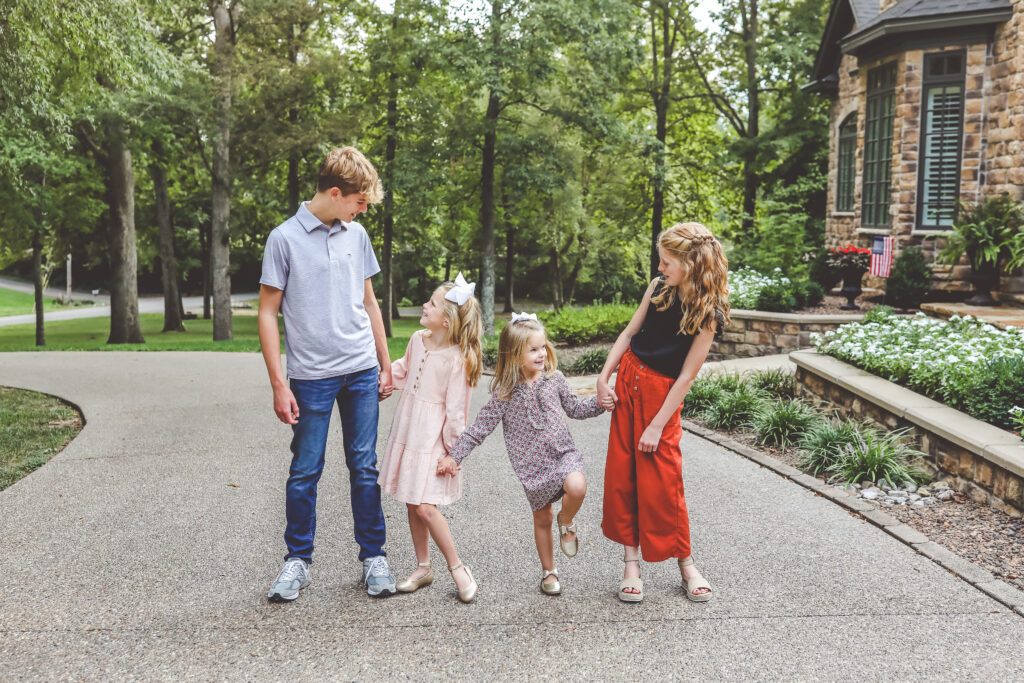
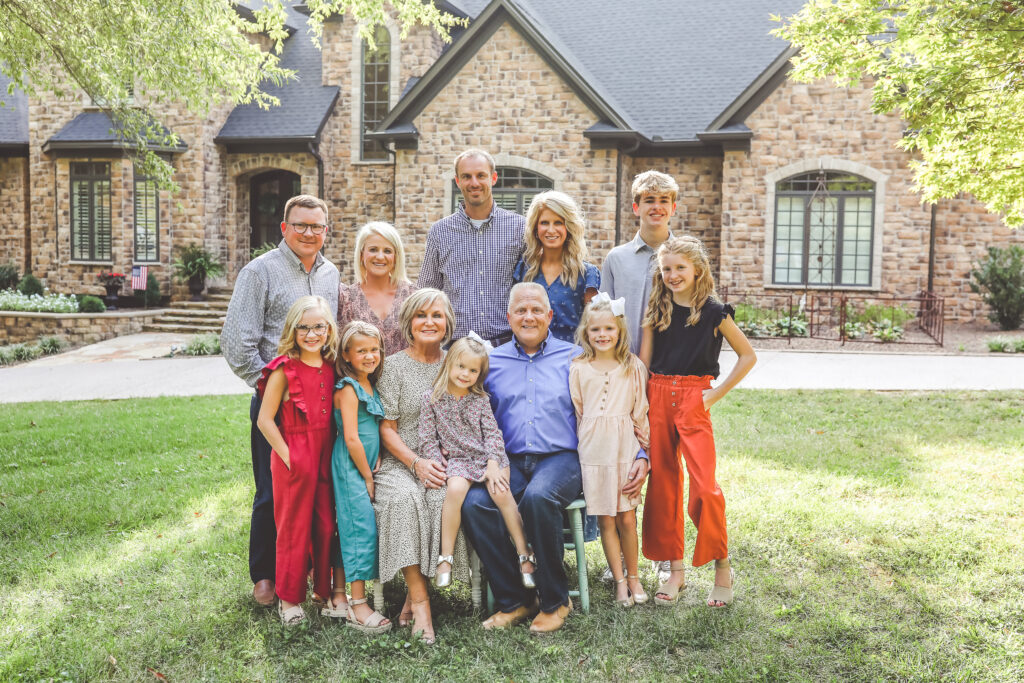
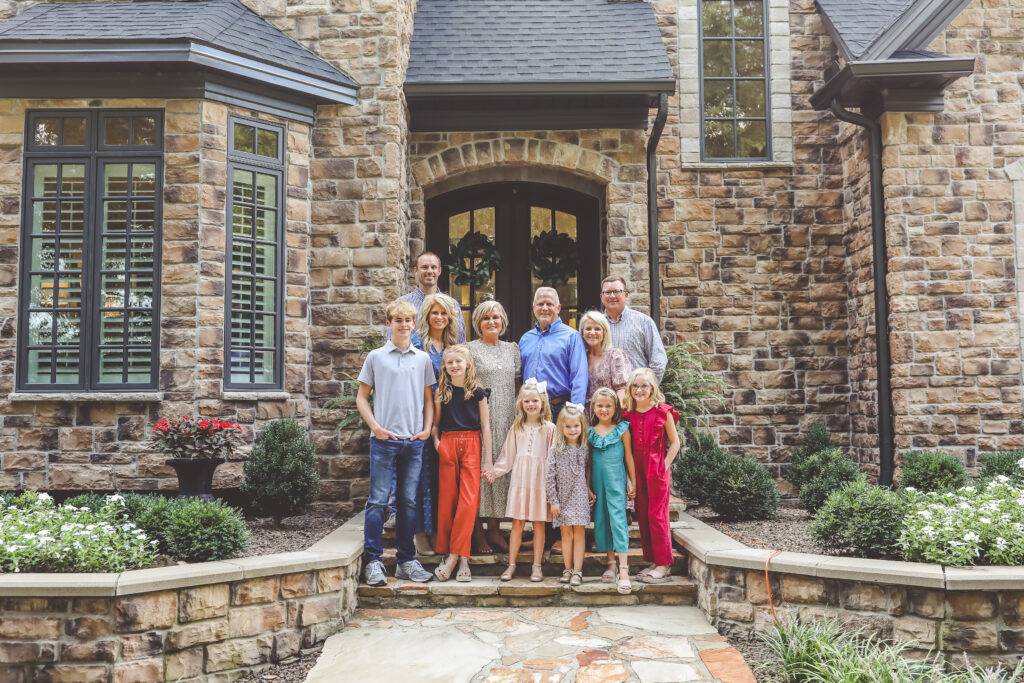
A closer look at one of my favorite extended families – Joe & Vicky Stewart with their beautiful girls, Summer & Taylor, and their families…
Maybe it’s because I grew up around my grandparents, aunts & uncles and cousins…but I truly enjoy photographing large families! I love seeing all of the family dynamics, laughing with everyone, playing with the kids, hearing stories and watching all of the fun, teasing (and even arguing)! Haha 🙂 My family is big and loud and chaotic and full of personality, so I just get it! 🙂
I also understand that photographing large families can be very intimidating to some…especially if you did not grow up around your extended family – or if you’re not used to all of the wonderful chaos that can come with it! 🙂
Not that every family is loud and chaotic (like my own), but when you get a large family together of all different ages and personalities, it can be a little stressful for a photographer. That’s why it’s sooo important to have a game plan – a system – that helps you to be organized, in charge, and efficient!
In the end, giving everyone a wonderful experience is just as important as creating beautiful images for them! I truly mean that!
Without getting too deep in the technical aspect or the posing, here are 2 tips that could totally transform your extended family session experience!!
1. CHOOSE ONE MAIN LOCATION SPOT!
The main goal of having a wonderful extended family session experience is to be efficient and to make it easy and stress-free for the clients. Choosing one main spot to get most of the pictures is key!
- It allows everyone to stay together (without wandering around and trying to gather everyone over and over again…especially little kids).
- There is not as much walking involved which is great for individuals who have physical limitations. I often have a couple of chairs behind me at this given spot so people who need to sit can do so when they are not being photographed.
- It allows consistency in your work! Photographing everyone at one spot ensures that all of the images will have a consistent and cohesive look & feel – including full family, individual families, single portraits, etc.
Depending on the dynamics of the family, you can always use a different location at the end of the session – after you’ve gotten all of the images at the first spot, but always FOCUS on one main spot first!
2. START BIG & WORK YOUR WAY DOWN…
I always shoot the BIG FAMILY shots first! This way, you have the kids’ attention and you’re ensuring that you get that “money shot” that everyone is wanting…you know…the whole family looking & smiling at the camera! 🙂 Without going too deep into all of the different poses, here is the typical order of shots that I take! Remember, start big and work your way down!
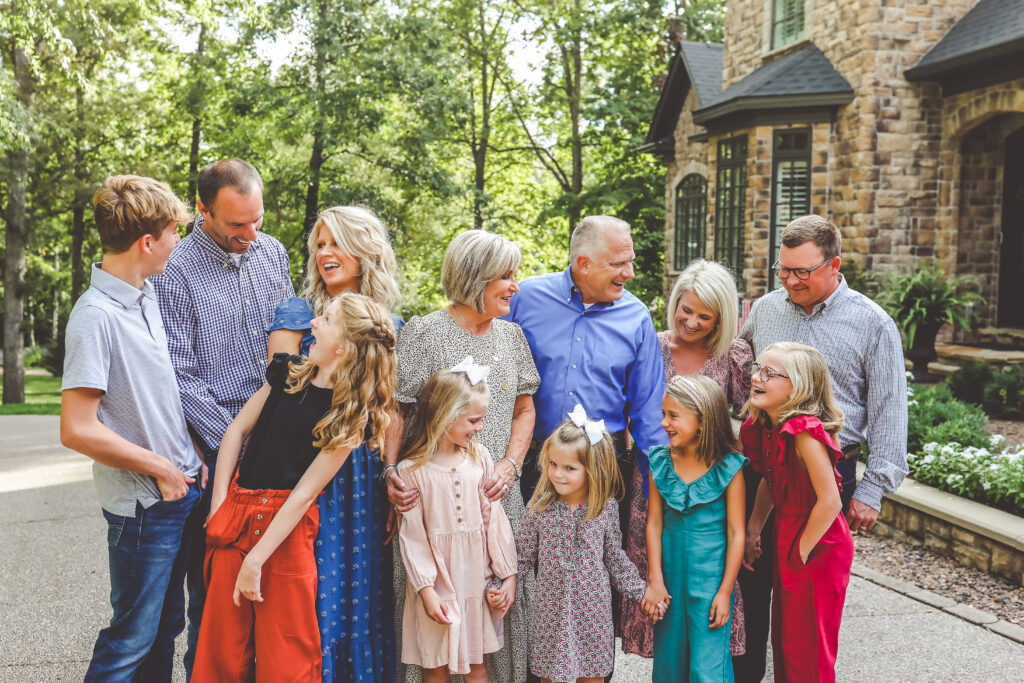
- Full extended family (looking at me, looking & laughing at each other)
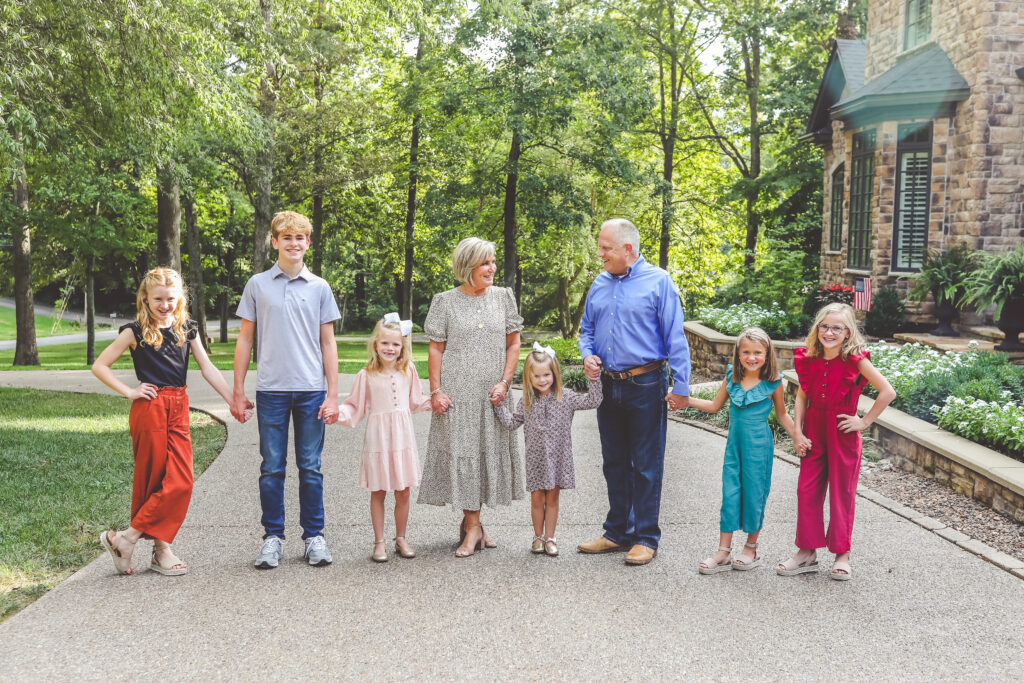
- Grandparents with all grandchildren
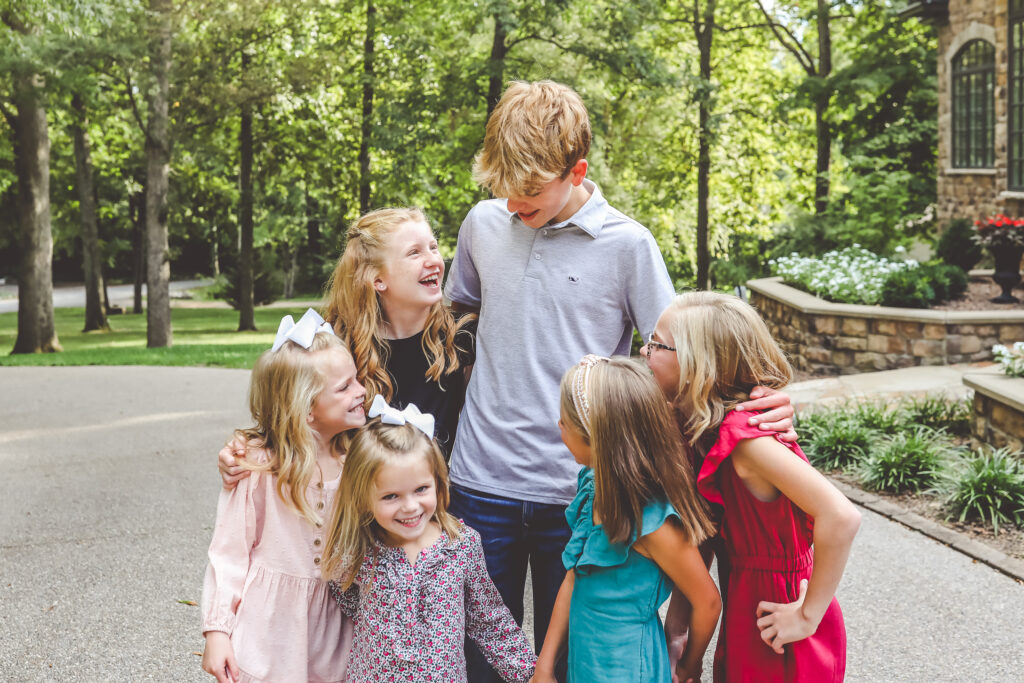
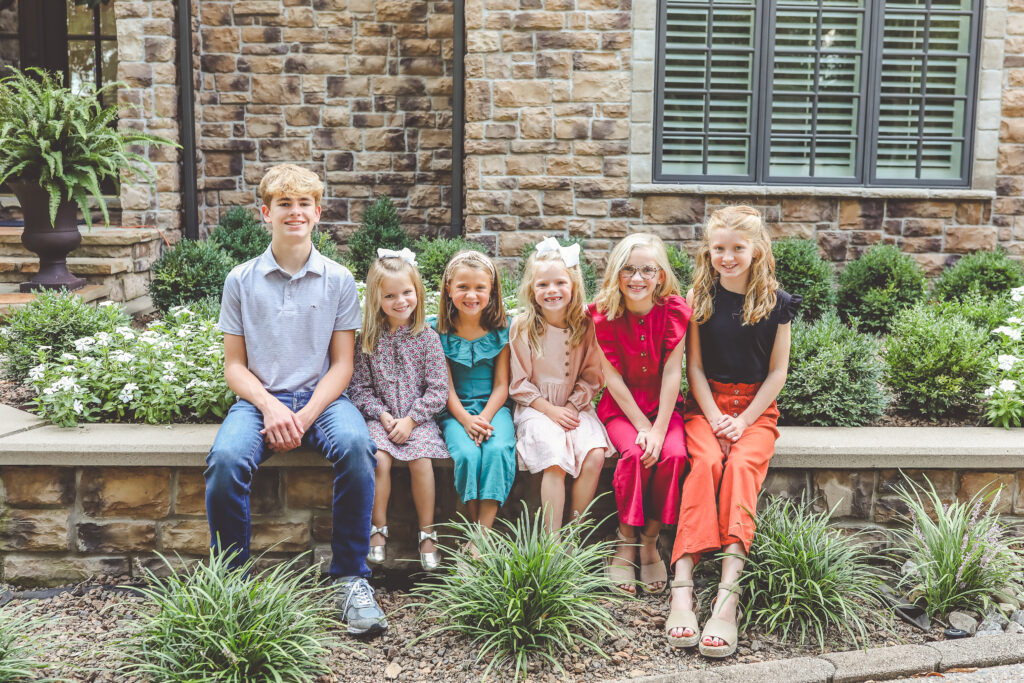
- Just grandkids (all together)
- Just grandparents (portrait)
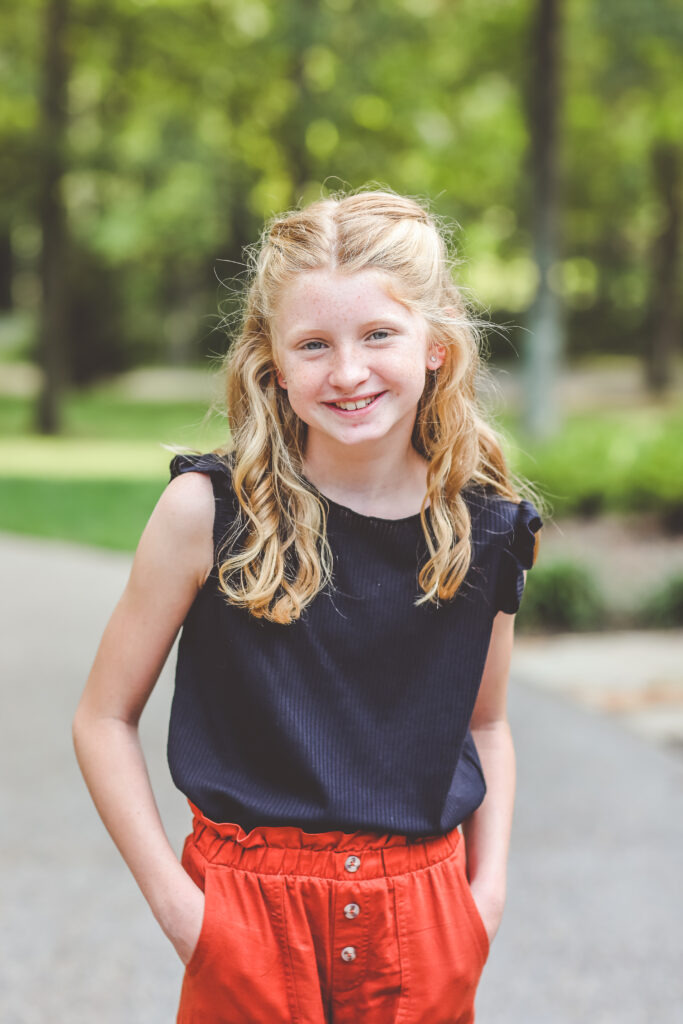
- Each individual family (whole family, just kids, just parents, each individual kid)
The beauty of having the system where you start big and work your way down is that you can literally call out what you need, and people are switching in and out quickly! You’re in ONE SPOT so everyone is close by, and it’s just super efficient!
Once you get all of your main shots (listed above), then you can totally get other shots that aren’t listed, but at least you know you got all the main shots for everyone already in that one spot! The rest is just extra! 🙂
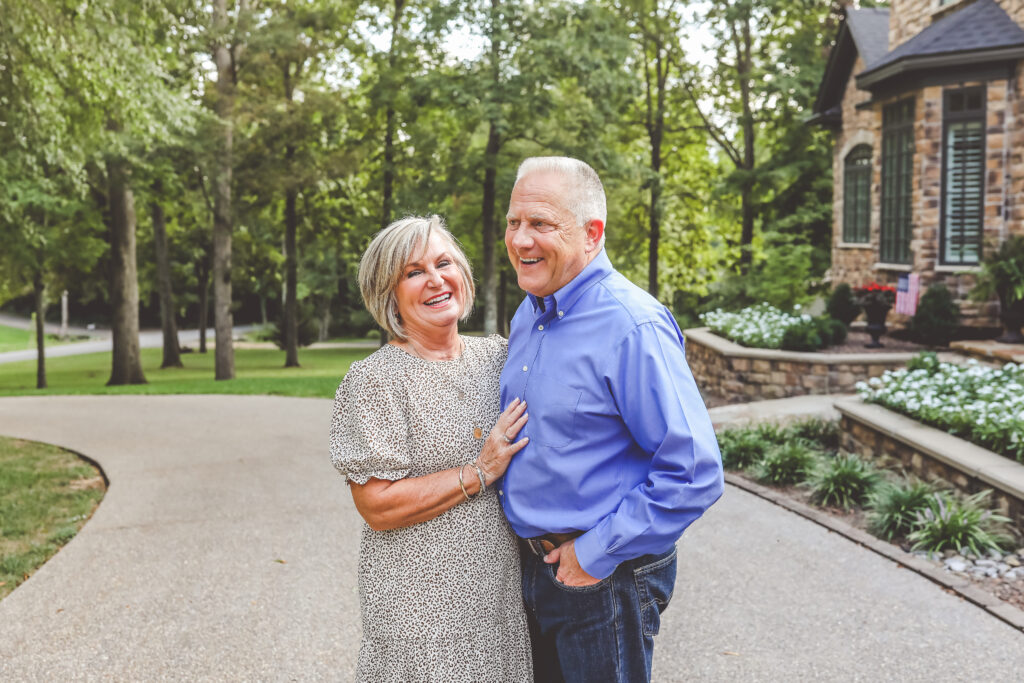
As you can tell from this session, we used Joe & Vicky’s driveway as the ONE MAIN SPOT for all of the must-have pictures. The lighting was great, the trees in the background made for a beautiful location, and I love that you can see a bit of their home on the side. Every image I’ve shared so far was taken in that same spot! Here are a few more…
After we got all of the shots finished in that main spot, we changed it up a bit. Here are a few more that were not “necessary” but were great additions to the gallery.
Any of these spots at their home would’ve made a beautiful location for the MAIN SPOT for pictures. However, it would’ve been totally unorganized and chaotic if I were to be switching back and forth from the driveway to the front porch to the front yard, etc. throughout the session. It would’ve added lots of time and more movement for everyone which adds to the stress.
Choosing the driveway as the ONE MAIN SPOT allowed us to be very organized and efficient…and yet, we still made time at the end to switch it up a bit! 🙂 The good news is that, even if we hadn’t switched it up with these “extra” shots, I would’ve still had the peace of mind knowing that I got all of the pictures I needed to get in the driveway!

Sidenote about why I chose the driveway as the one main spot…
- The lighting was nice & even and a bit brighter than under the trees in the front yard.
- The concrete served as a natural reflector. Light was able to bounce off of it which made the light on their faces a bit brighter and even. 🙂
- It was wide enough so that everyone could spread out if they needed to, and we wouldn’t feel crowded.
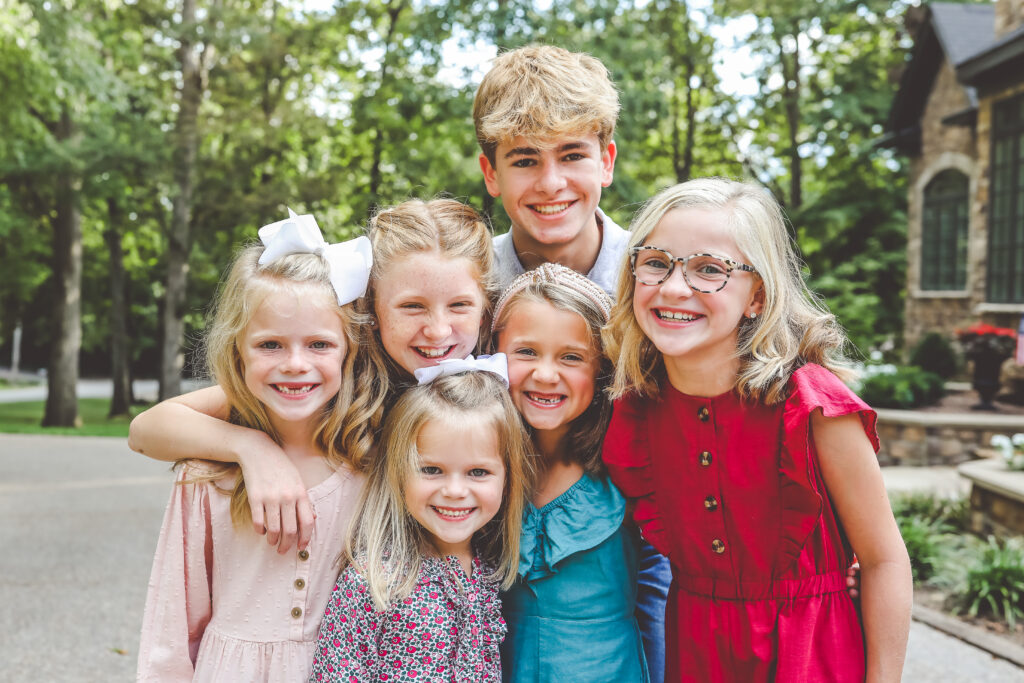
Image Settings:
* Here are the stats and settings for most of these images taken on the driveway…
Time of year: September
Time of day: between 5:30 & 6:30pm I knew the sun would be behind their home, so we wouldn’t have direct bright sunlight at the front of their home. The sun was still high enough in the sky to allow it to be nice & bright in the front of the home.
Camera: Canon 5D Mark IV
Lenses: Canon 35mm f/1.4L (for all group shots), Canon 85mm f/1.2L (for individual portraits)
General Settings for large group shots: Aperture (f-stop) – f/4.0, ISO – 500, Shutter Speed – 1/500 sec.
I used a higher aperture for groups so I could get more of the image in focus. The ISO (or light boost, as I like to call it) was 500 because there was a lot of shade surrounding us. I probably could’ve lowered the ISO a bit, but it was fine. 🙂
General Settings for individual portraits: Aperture (f-stop) – f/2.8, ISO – 320, Shutter Speed – 1/500 sec.
I hope this was helpful!! If you have any questions, please reach out to me! Good luck at your next extended family session!! And if you’ve always been intimidated by them, I hope these tips encourage you to give them a try!
Thanks so much for being here, friend! Have a great day! 🙂
-Ashlee


Be the first to comment