

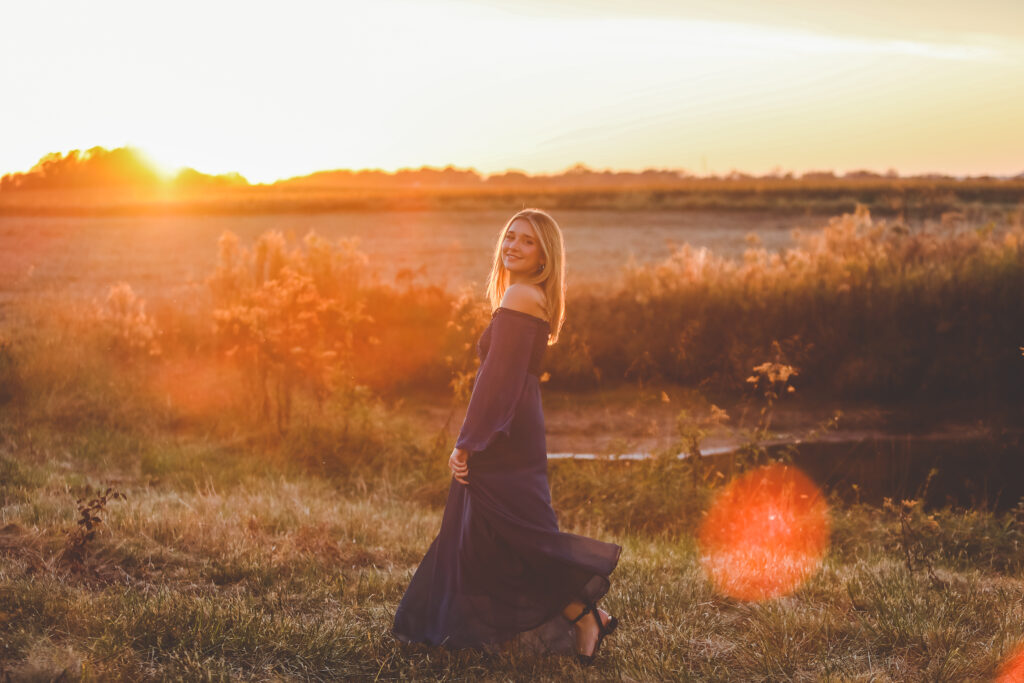
One of my favorite types of images are the ones that I like to call “sun-drenched”…where the golden light just “drenches” my client – where they’re wrapped in a blanket of warm sunshine. Maybe it’s because I love sunshine & golden hour. Maybe it’s because I love the vintage vibe that the sun can give an image with it’s sun-flare and rich color tones. Regardless, I want to share a Senior session I had where the sunset was perfect, and the lighting just made my heart happy!
There are a few things to consider when planning for “sun-drenched” images at sunset. The first thing (and most important thing) is timing. You want the sun to be low in the sky. I usually start the session about an hour before sunset, but I save these types of images until last…usually about 15 minutes before sunset. That is when the light is rich and bold. Although I’m not a sunrise shooter (usually), you can also achieve this look by shooting at sunrise. 🙂
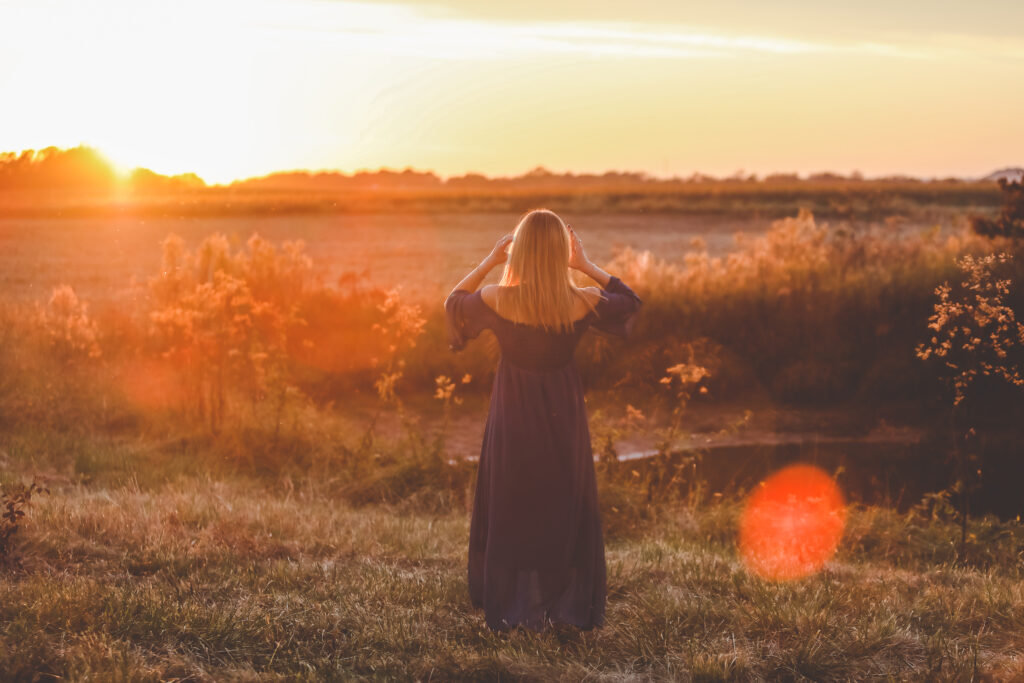
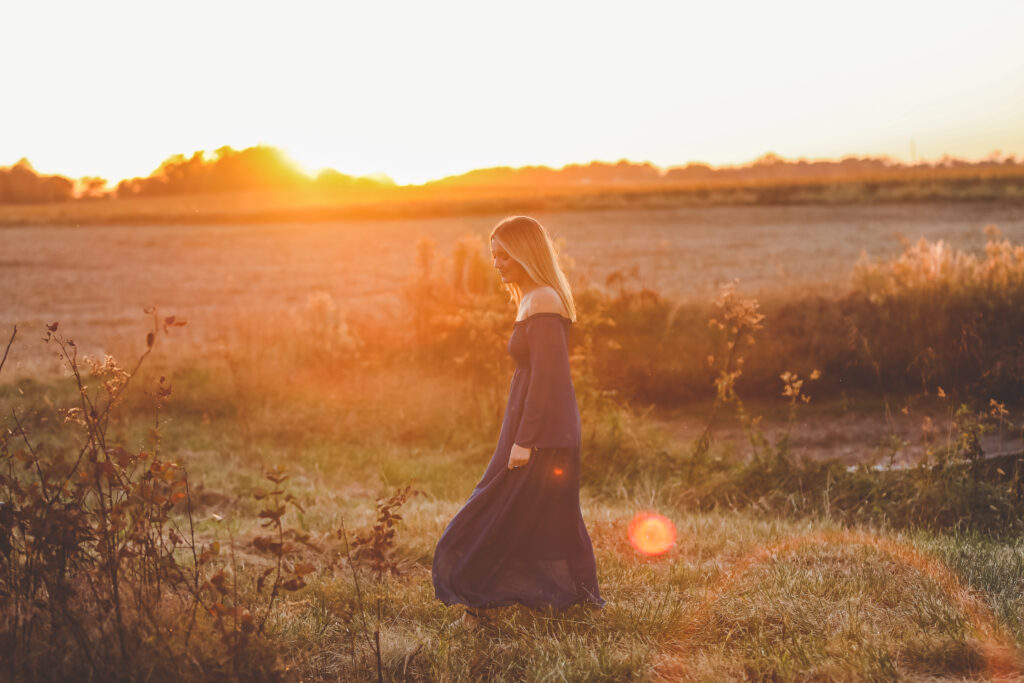
I place the sun behind my client and a little to the side. In these images, the sun was behind Jillian and to the left. I put my focus point on my client’s face and stand where the sun starts to creep into the frame (or in my view). I personally love sun flare and the imperfections that come with it. That’s not for everyone. If there’s too much light coming into the frame, you can simply reposition your angle where the sun is barely (or not at all) in the frame. You’ll still get golden images without the harshness of the flare (if that’s more your style).
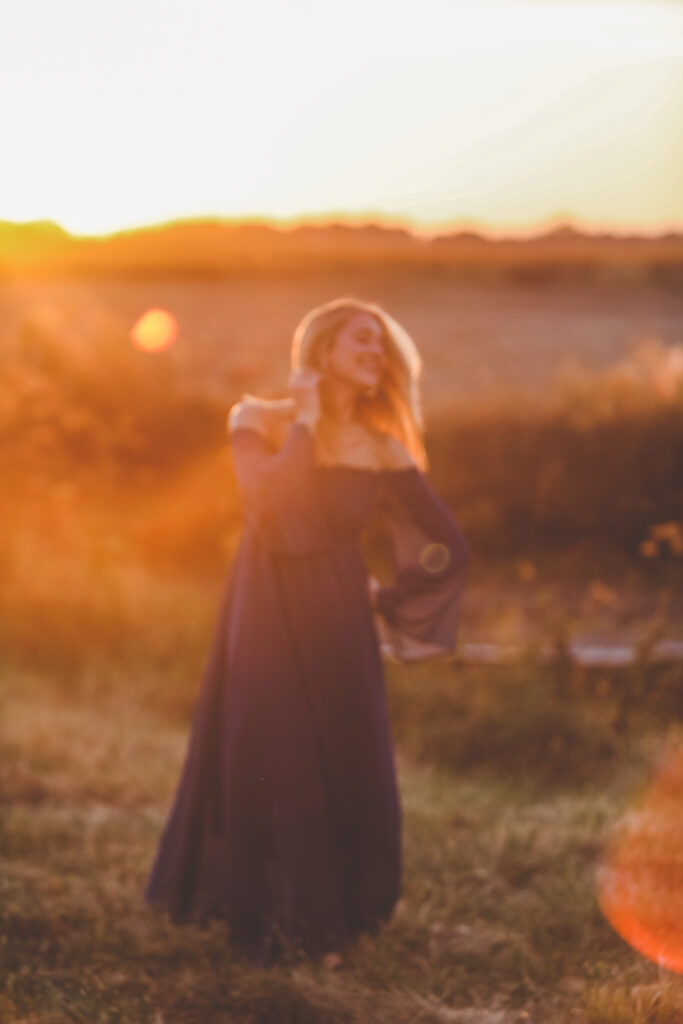
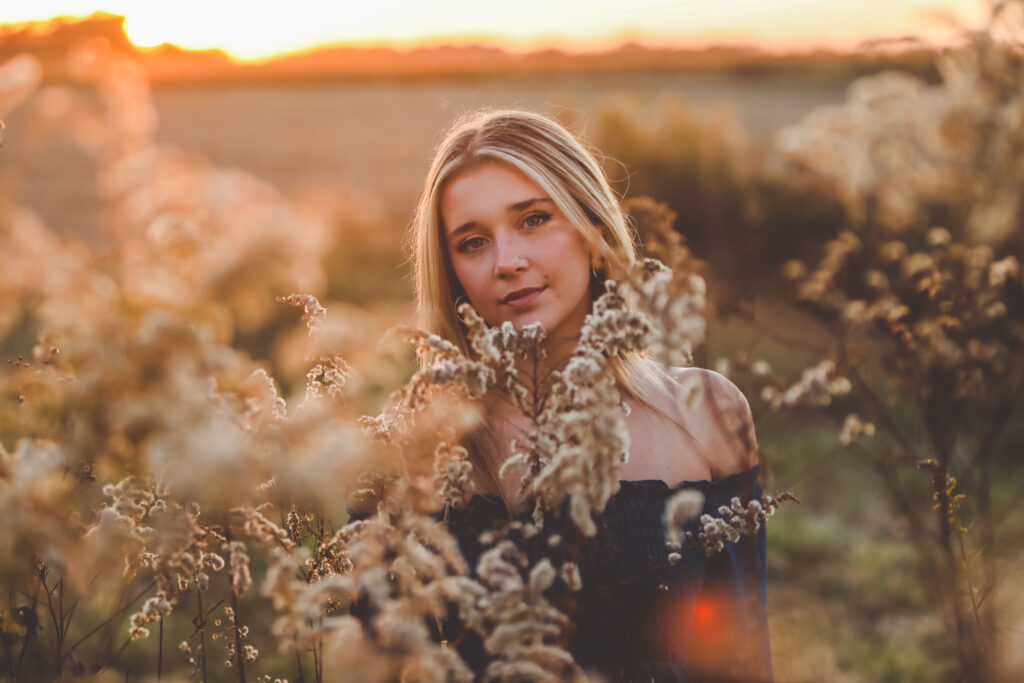
One of the challenges of getting sun-drenched images is your lens may have trouble focusing when a lot of light is pouring into it! This doesn’t always happen, but it can happen. You can always move around to get different angles. However, like in this next image, sometimes you will get an out-of-focus image that feels like a dream. Some people might trash those, but I absolutely love the ethereal feel of them. That is why, I always say to embrace imperfection! If it makes you “feel” something, then it’s worth keeping!
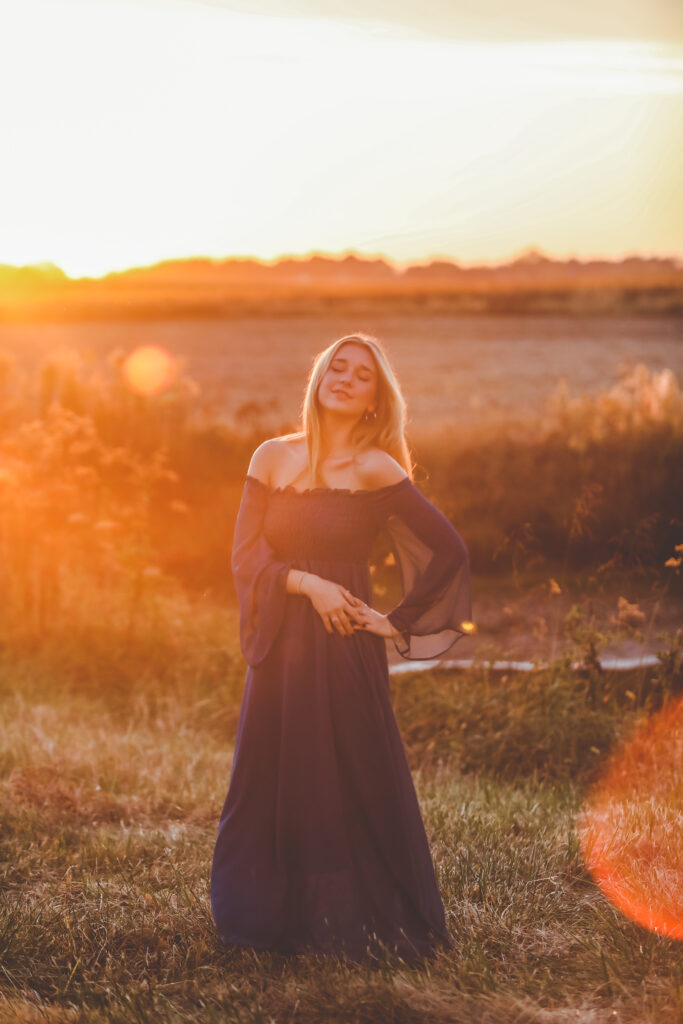
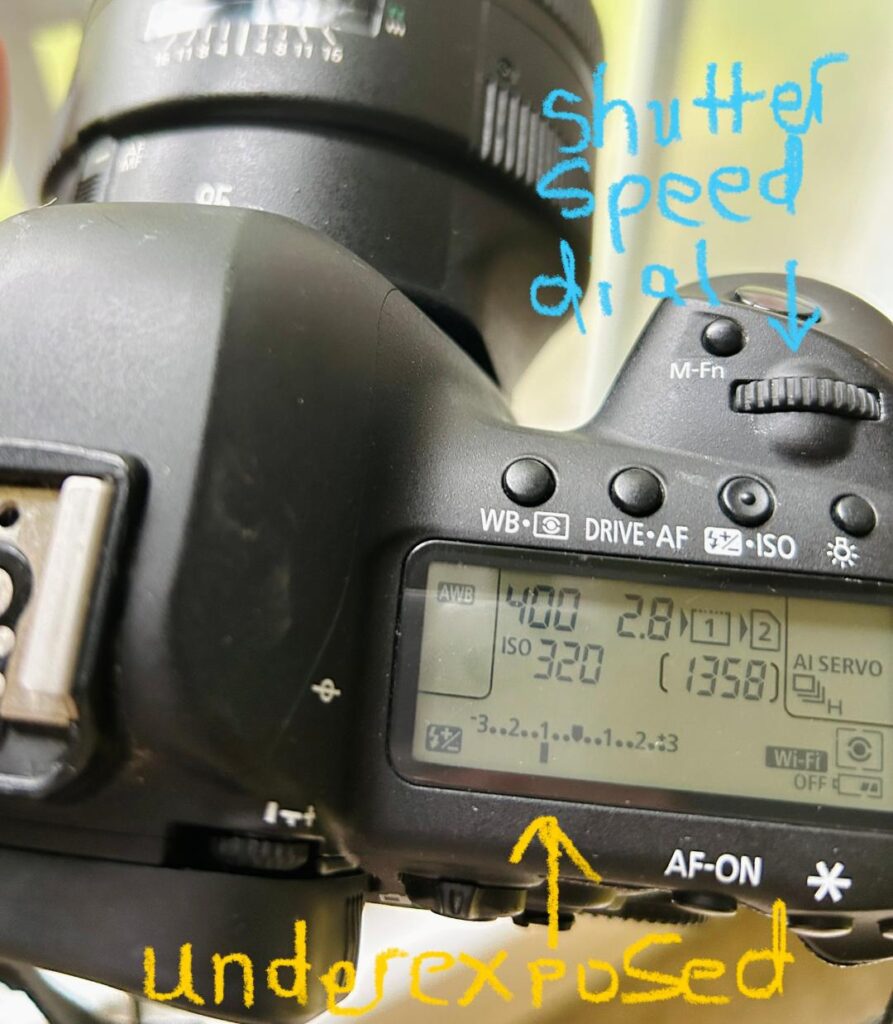
When getting these rich, golden tones, it’s important not to over-expose the image (or make them too bright, letting too much light in). I usually try to underexpose the image just a bit (let it be a little darker than usual). The reason I like to underexpose these images is it captures more of the richness and contrast of the colors. If the image is way too bright, it would wash out the light and you wouldn’t get the rich colors. What that means for you is you will rotate your shutter speed dial until the tick-mark on the light meter is about 1-2 marks below zero (or to the left of the center mark).
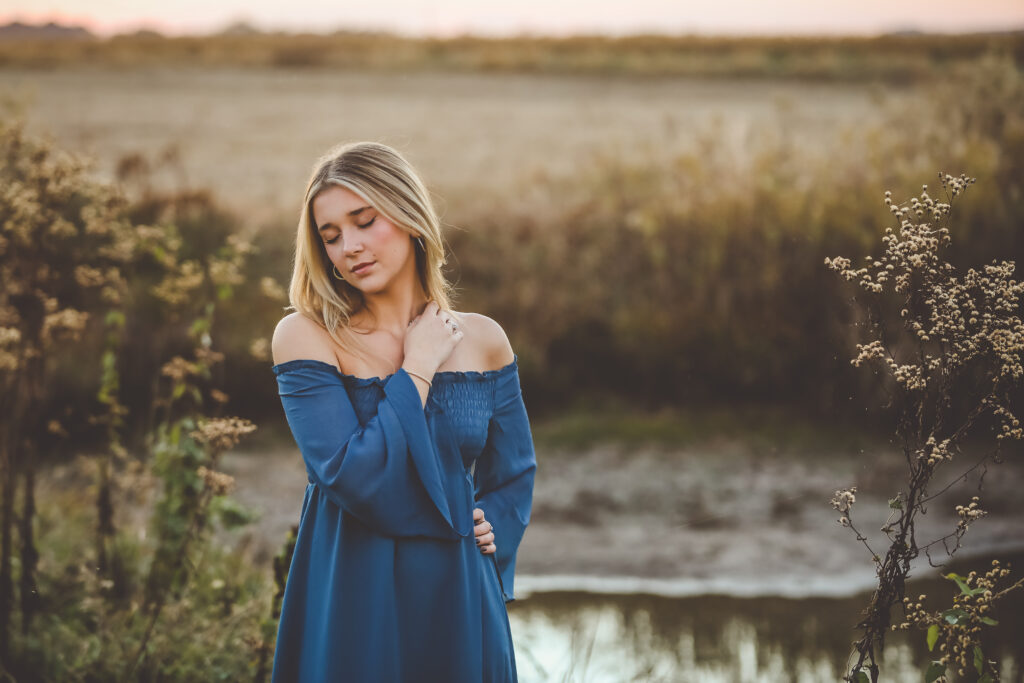
One thing that can be exciting, yet challenging when using sunset light is that the light changes rapidly. One minute, it’s rich, golden and bold. The next moment, after the sun sets, the light is more soft & even, like in the image above and below.
The 15-20 minutes before sunset are my favorite! The light can be so magical! Here are some things to consider:
- A cloudy evening will affect the light. You can still get beautiful images with a cloudy sky, but you will not get the rich, golden tones that a clear sky can give.
- The location matters! Open spaces are always my favorite when getting sun-drenched images. However, if you are at a location where you can’t see the full sunset on the horizon, then you may need to meet earlier when the sun is a bit higher in the sky…so that it won’t be hiding behind a tree line or tall buildings, etc.
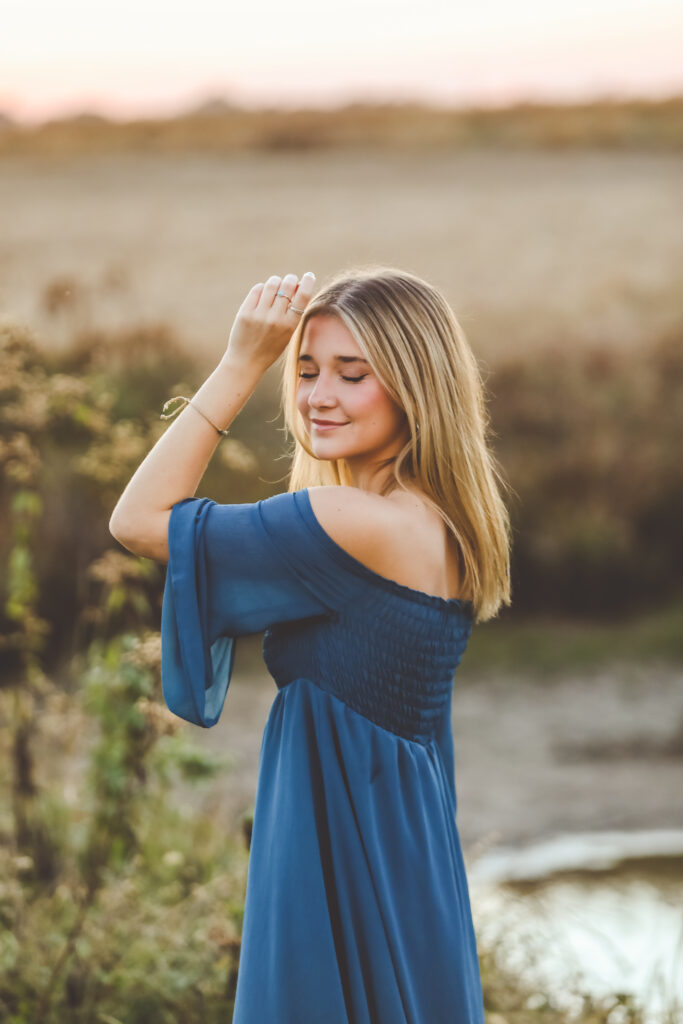
- If you are using a few different spots at a particular location, always save the open space spot for last so the light will be beautiful! For Jillian’s shoot, I could’ve shot these images earlier when the sun was higher in the sky, and they would’ve been “pretty”. However, waiting until right before sunset to do them gave them an artistic quality that could not have been achieved earlier in the day!
- It takes practice!! Don’t get discouraged! There’s a sunset every night! I encourage you to grab your camera and play with the light! Take lots of shots – practice with your kids, your dog, your husband/wife. If you don’t have any of those, heck – put a chair outside and focus on the chair as the light envelopes it! 🙂
Here are the stats for a few of Jillian’s images:
Time of Year: Late October
Time of Day: Between 7 and 7:15pm
Camera: Canon 5D Mark IV
Lens: Canon 70-200 f/2.8L
Settings: Aperture (f-stop) – f/2.8 ISO – 500 Shutter Speed – 1/640 sec.
Settings: Aperture (f-stop) – f/2.8 ISO – 500 Shutter Speed – 1/640 sec.

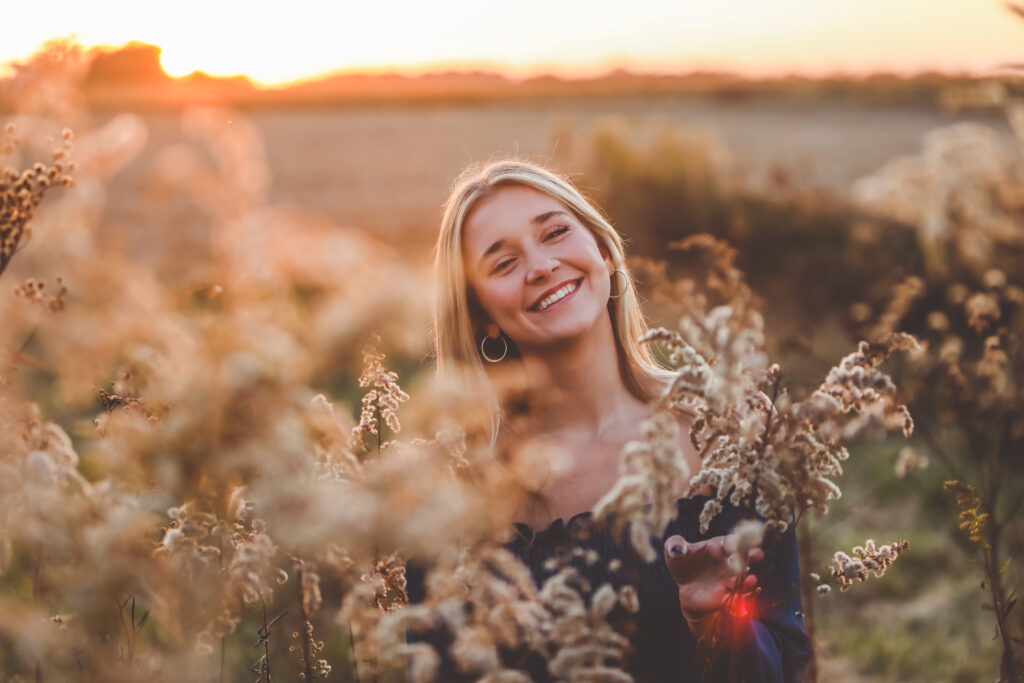
Settings: Aperture (f-stop) – f/2.8 ISO – 500 Shutter Speed – 1/1,000 sec.
Settings: Aperture (f-stop) – f/2.8 ISO – 640 Shutter Speed – 1/320 sec.
I hope this was helpful for you!! Sunset images are my absolute favorite! If you have any questions, please let me know! 🙂 Also, if you’re brand new to photography or still trying to get the hang of manual mode, I have a free guide that I’d love to share with you! It’s called “Kick Auto to the Curb”, and it will jumpstart your journey on learning to shoot in Manual Mode! You can find it HERE!
If you want more of a 1:1 coaching experience, I would love to be your biggest fan! You can see details on my coaching HERE!
Have a great weekend, friends!
Ashlee 🙂


Be the first to comment