Hi Friend! I hope you’re having a great day! I am excited to start a series of educational blog posts that will truly go Behind the Shot and explain my camera, gear, & settings; the location and lighting; time of day; and my thoughts when creating and capturing the moment.
When I was learning photography wayyyy back in 2009 and 2010, I would see something I loved and want to know how that photographer got the shot! I found the courage to just reach out and ask photographers whom I admired. Often times, those photographers were stingy with their advice and information…afraid to tell their secrets! However, many of them were so kind and generous with their responses, and that is what inspired me to learn & grow!
I never want to be the stingy photographer! I am self-taught, but made so much progress just by learning from other photographers. So…I’ve decided that this will be a great place to offer advice & information to those of you who are wanting to learn more! I want to help you! I want to inspire you! But let me make it clear…I am not a technical person at all! I don’t know everything about my camera. I know how to use it to do what I want…and that’s about it! Haha! However, after 14 years on this journey, I have a few things to share! 🙂
So, let’s get started!!
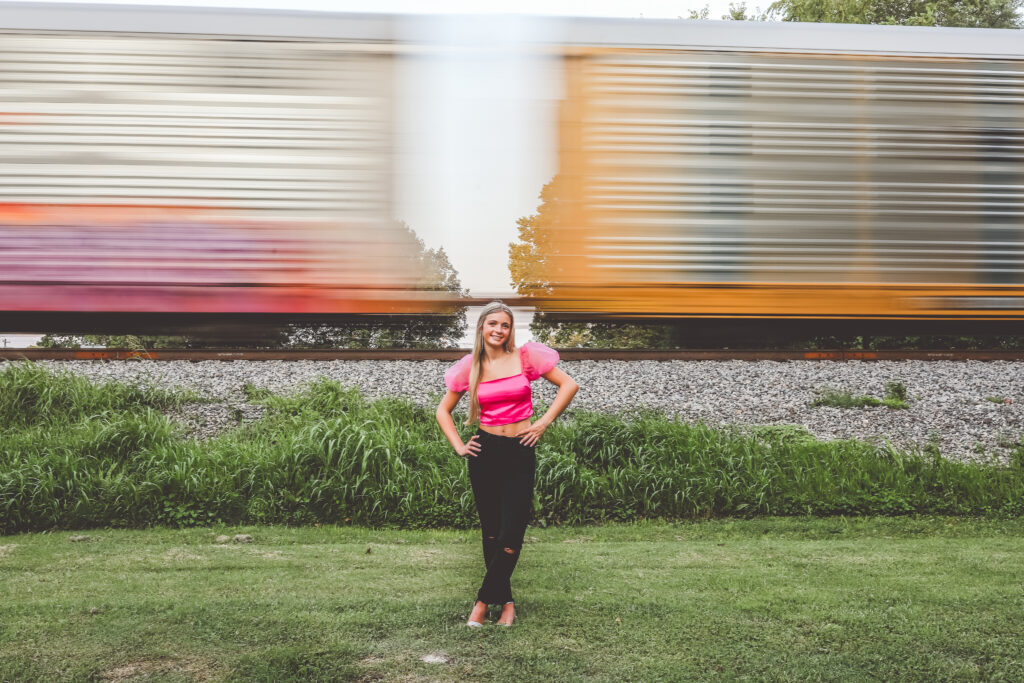
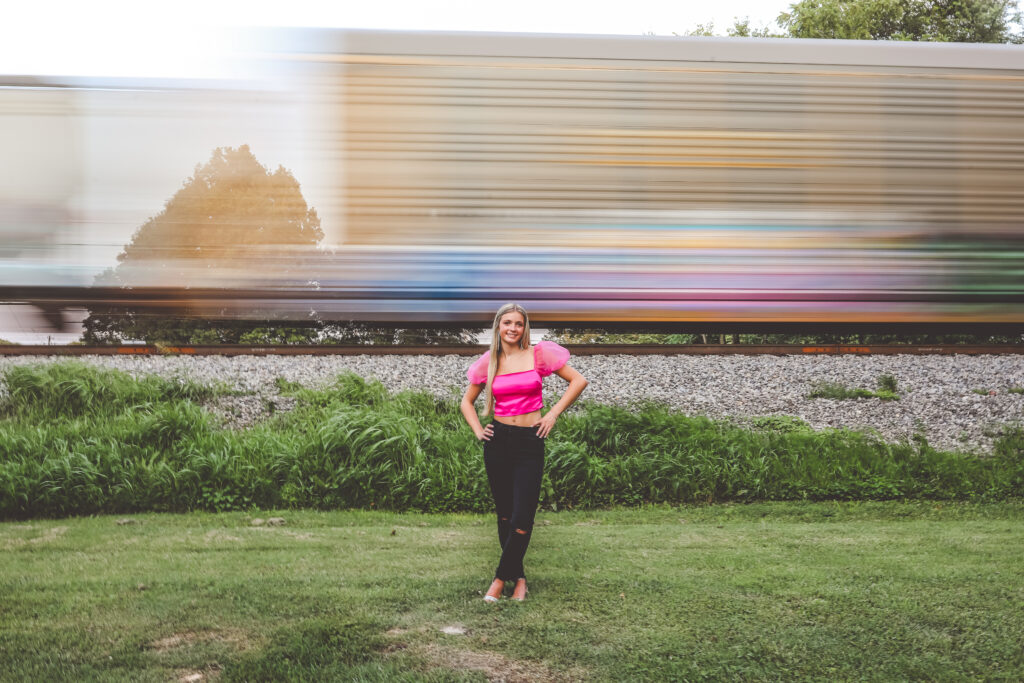
This is an image I took at Kennedy’s Senior session in July. First of all, Kennedy is a beautiful girl! That goes without saying. However, I want to get into the nitty gritty of how I captured motion blur of this fast-moving train! First, let me give you the stats. Then, I will explain!
Time of Year: July
Time of Day: approximately 8:00 pm
Camera: Canon 5D Mark IV
Lens: Canon 35mm f/1.4L
Settings: Aperture (f-stop) – f/14, ISO – 125, Shutter Speed – 1/10 second
Explanation/My Thoughts: Kennedy’s session was almost over at this point, and we were taking portraits near the train tracks. We heard the loud train whistle, and I immediately told her to run over to the grass by the tracks and just face me. I knew I wanted to get this shot, so I had to quickly adjust my settings in order to show the motion blur of the train. Normally, we want everything in the image to be tack sharp with zero motion blur! However, to achieve a look like this, you have to prioritize the blur!
Without going into too much detail, there are three main things that create a correct exposure (or “good picture”): Aperture, ISO, and Shutter Speed. Each of those things also do one other thing that affects the image. For shutter speed, the “other thing” it does (besides letting light in to create a correct exposure) is captures motion and movement. A really fast shutter speed (letting less light in) will STOP MOTION where you can’t see any blur whatsoever. A really slow shutter speed (letting more light in) will create MOTION BLUR.
I knew I needed a SLOW SHUTTER SPEED to capture the movement and blur of the train. In order to slow my shutter speed down, I had to adjust my other two settings to compensate. If I didn’t adjust the other two settings, the slow shutter speed would’ve let WAY TOO MUCH LIGHT into my lens and it would’ve been completely washed out.
I had my aperture on f/2.0 for portraits, but I immediately cranked up my aperture to around f/10 and looked at my light meter to see if it was a correct exposure (turned my shutter speed dial until the tick mark was in the middle of the meter on zero). Then, I took a few pictures and looked at the back of my camera. It still wasn’t showing as much blur as I wanted, so I raised the aperture even more – to f/14 – and adjusted my shutter speed until the tick mark on the light meter was on zero.
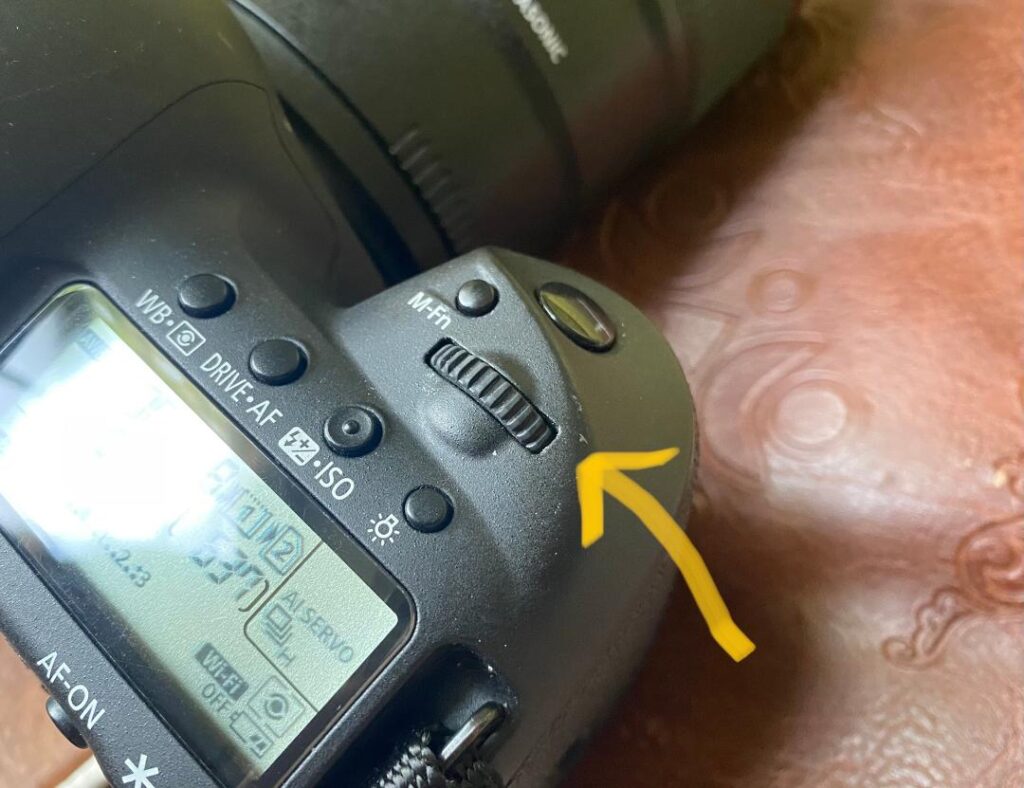
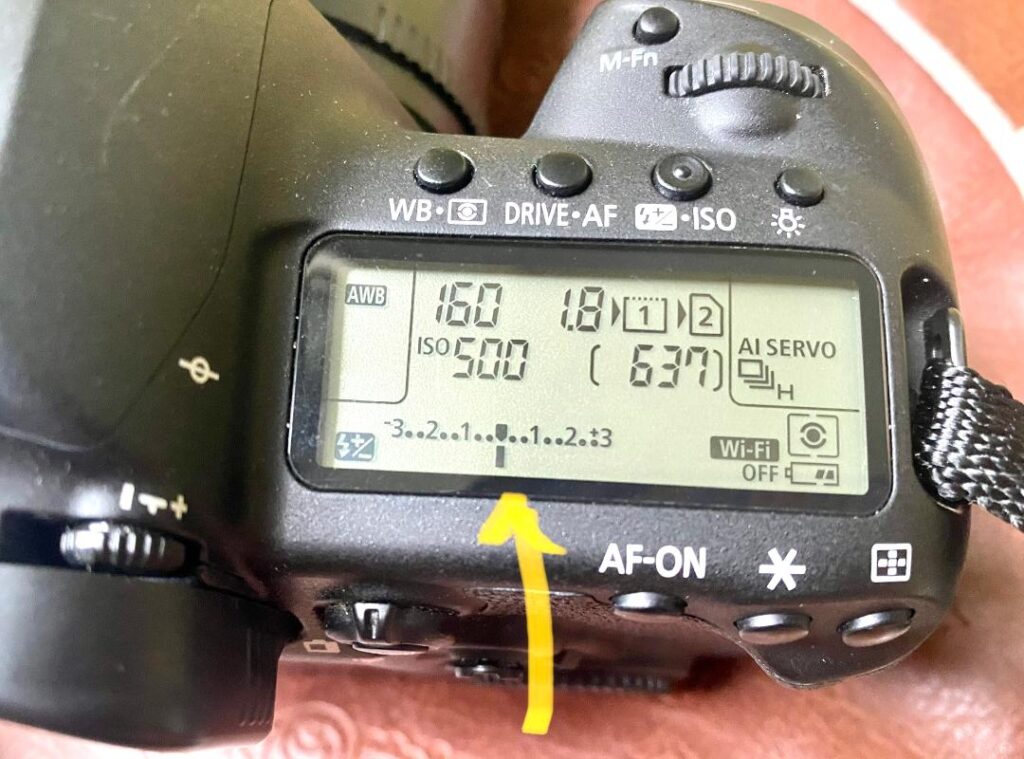
After raising my aperture to f/14, I realized that when I took a picture, the train motion was exactly how I envisioned it, so I stuck with it!! I made sure to put my focal point right on Kennedy’s face and asked her to stand very still. That allowed her to be in focus and the train to be completely out of focus!
I took a lot of images in that fast 1 minute!! A lot of them didn’t turn out how I wanted, and that’s ok!! I chose 3 that I was really happy with! The one above was my favorite because the graffiti on the train was the exact color of Kennedy’s dress, and I just so happened to capture her in open space between the two train cars! That was total luck (from taking lots and lots of pictures)!!
Here are a couple of others that I liked!
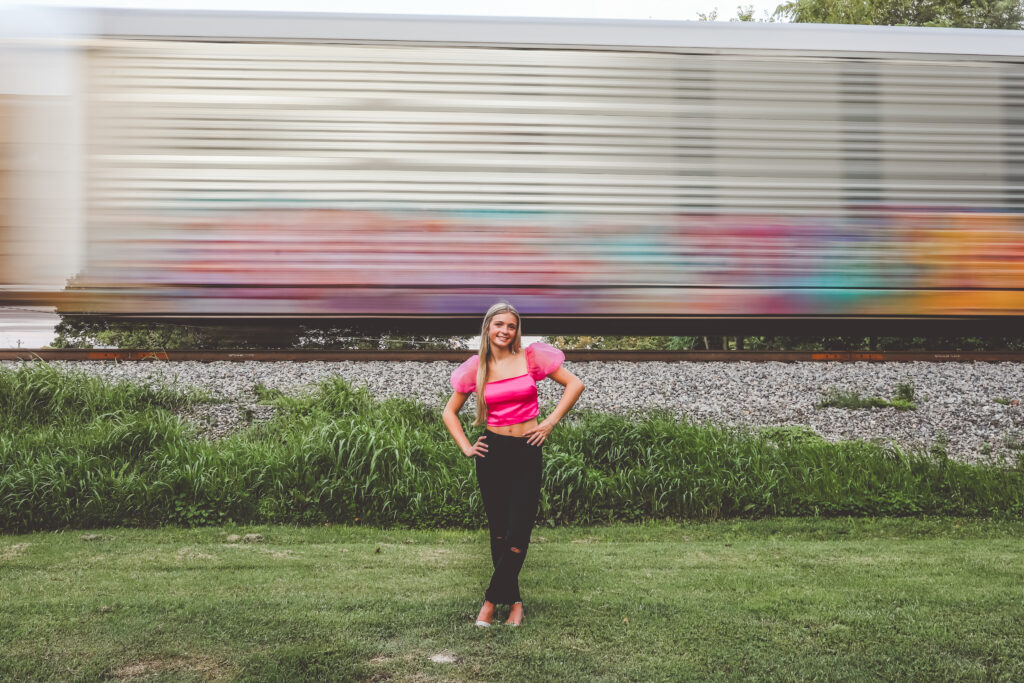
I’d love to know which one is your favorite! 🙂
If you are just starting on your photography journey and really feel overwhelmed about the three exposure priorities (Aperture, ISO, Shutter Speed), then I would love for you to download my free guide to help you learn to shoot in Manual Mode!! It’s simple and to the point…and my gift to you! Download it HERE!
If you have any questions, I’d love to hear from you! If there is something you’ve been wanting to learn, just ask! I’d love to hear what you struggle with so that I can create content that is helpful for you! 🙂
If you have a grasp on manual mode, then I challenge you to try to capture motion blur!! It can be a passing car, running children, running water, and more! Just play with it! You’ll mess up a lot (just like me), but the more you practice, the better you’ll get…and it’ll be so fun!! 🙂
Until next time, my friends…have a great day!! ~Ashlee

Be the first to comment